
Updated 1/2026
Many people want to build a website but feel intimidated by complex code. Adobe Dreamweaver CS5 solves this problem. It is a powerful tool that combines a visual editor with full code control. This program allows users to design professional sites without deep programming knowledge. Understanding how to use its features is crucial for efficient web development. A valid adobe dreamweaver cs5 key is essential for accessing all these professional features legally. This article provides a practical guide for beginners. At the end of the article, you can download a handy checklist to follow each step.

Installation and Activation
Getting the software running correctly is the first critical step. A proper installation ensures a smooth and stable workflow. This process involves more than just running a setup file. Users must pay close attention to system requirements and activation details.
Pre-Installation Checklist
Before installing, verify your computer meets the program’s needs. Adobe Dreamweaver CS5 requires a Windows or Mac OS system with sufficient RAM. Allocate at least 1GB of memory for the application to run well. Check that your graphics card supports the required screen resolution. This prevents performance issues later. A missing dreamweaver cs5 key will halt the activation process entirely.
Running the Installation Wizard
Download the installer from Adobe’s official website or use the original installation discs. Launch the setup executable and follow the on-screen prompts carefully. Choose your preferred language and installation directory. The wizard will copy all necessary files to your hard drive. This process typically takes several minutes to complete. Users sometimes report dreamweaver does not start after a rushed installation.
Completing the Activation Process
Open the program after installation. The software will prompt you to enter a serial number. Locate your valid adobe dreamweaver cs5 key and type it into the designated field. An internet connection is required for online validation. The application will contact Adobe’s servers to verify the license. Successful authentication grants full access to all tools. An old dreamweaver cs3 activation process was similar but less secure.
Troubleshooting Common Installation Hurdles
Some installations do not go perfectly. Firewall settings might block the program from connecting online. Temporarily disable your firewall if activation fails. Always run the installer with administrator privileges. Right-click the setup file and select Run as administrator. This avoids permission errors. If the application still fails, a corrupted download might be the cause. Redownloading the installer often fixes this problem. A faulty dreamweaver cs5 key will always cause activation to fail.
A study on determinants of effective change management for software deployment projects found that incorrect permission settings are a key factor in installation failures, contributing to complexities in Agile environments (2021, University of Maryland Global Campus).
A correct setup is the foundation for all future work. Never skip the step of verifying your system compatibility. This saves hours of frustration troubleshooting why dreamweaver does not start later on.
Fast Website Layout
Dreamweaver’s true power lies in its dual-view interface. You can design a page visually while the software writes the code. This approach dramatically speeds up the development process. Beginners can create a complete layout without typing a single line of HTML.
Never start a new project without first defining a site in Dreamweaver. This crucial step manages all file paths and links, preventing broken connections and lost images later.
Defining a New Site
Start by defining a new site within the program. This is a crucial organizational step many beginners ignore. Go to the Site menu and select New Site. Give your project a name and choose a local folder on your computer. This folder will store all your HTML, CSS, and image files. Dreamweaver uses this information to manage links and assets. Proper site management prevents broken links and missing images. A valid adobe dreamweaver cs5 key unlocks advanced site management features.
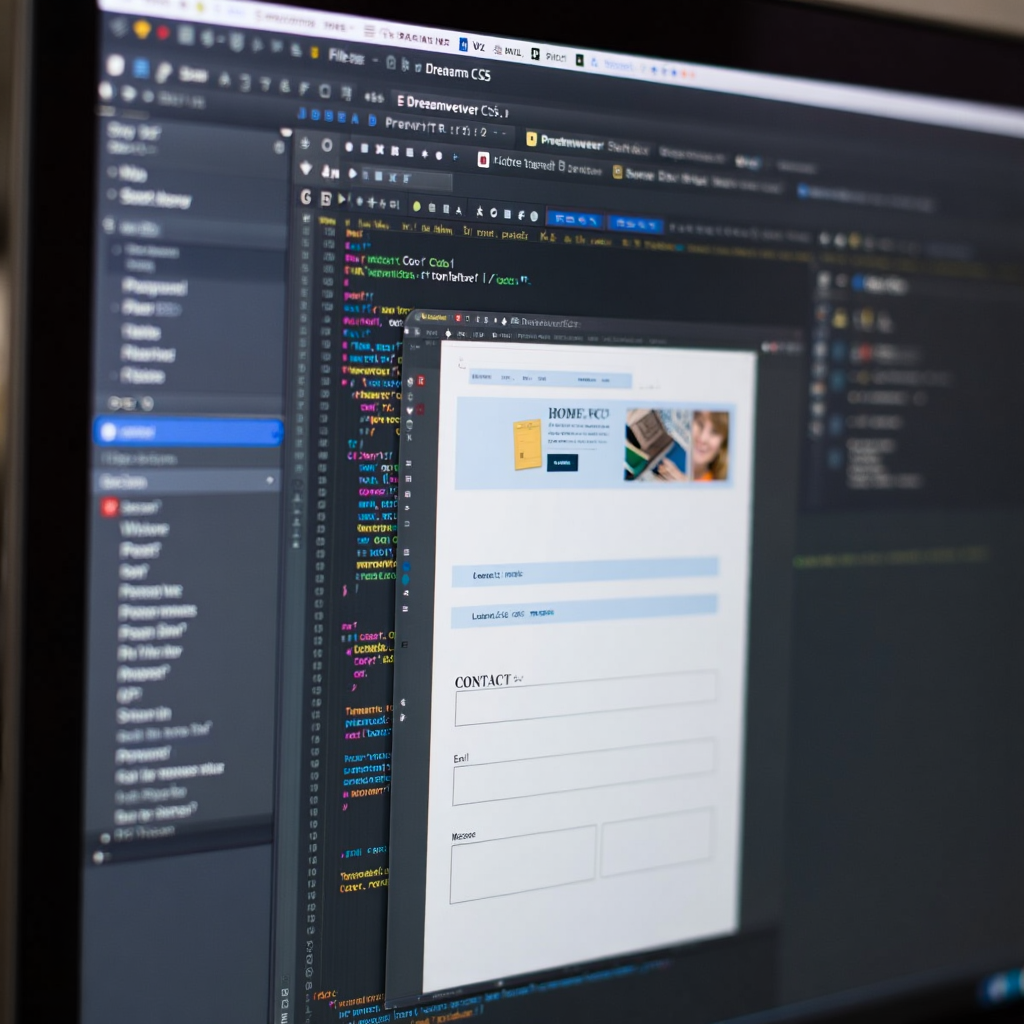
Designing in Design View
Switch to the Design view to begin building visually. This workspace looks similar to a word processor. You can insert text, images, and tables directly onto the page. Use the Insert panel to add common elements like div tags or headings. Drag and drop elements to position them on the layout. The software automatically generates the clean, compliant code in the background. This visual method is ideal for prototyping quickly.
“I recommend starting with Design View to build confidence before coding; it’s key for beginners to visualize layouts first.” Said by Ray Pastore, Ph.D., eLearning expert and YouTube educator on Dreamweaver.
Styling with the CSS Designer
Modern websites rely on CSS for styling. Dreamweaver’s CSS Designer panel simplifies this process. It allows you to create and manage style rules visually. Select any element on your page. The CSS Designer shows all styles affecting that object. You can add new properties like color, font, or margin. For mobile-friendly sites, incorporate media queries in your CSS rules. Select “@Media” in the CSS Designer to define breakpoints, ensuring your layout adapts to different screen sizes. Changes happen in real-time, providing instant feedback. After setting up your site structure, consider integrating plugins for enhanced performance, much like optimizing CSS for better site speed.
Research on multimodal analytics in virtual reality shows that visual feedback tools enhance comprehension in interactive design by providing real-time cues (2022, Stanford Virtual Human Interaction Lab).
Essential Steps for a Basic Page
- Create a new HTML file from the File menu.
- Insert a layout structure using div tags from the Insert panel.
- Add your content, like text and images, into these containers.
- Use the CSS Designer to create rules for styling these divs.
- Link a separate CSS file for better organization and site-wide changes.
Use this table to plan your basic page creation workflow:
| Step | Action in Dreamweaver | Expected Outcome | Tips |
|---|---|---|---|
| 1. Create HTML file | File > New > HTML | Blank page in Design View | Save as index.html for the home page |
| 2. Insert layout structure | Insert > Layout Objects > Div Tag | Container elements added | Use IDs like ‘header’ for styling |
| 3. Add content | Drag text/images from Insert panel | Elements appear visually | Ensure alt text for images |
| 4. Style with CSS | CSS Designer > Add Rule | Real-time changes | Link external CSS for reusability |
| 5. Preview and test | File > Preview in Browser | Functional page | Check in multiple browsers |
Some users working with older versions might recall a different workflow. A previous dreamweaver cs3 activation granted access to a less sophisticated CSS panel. The visual editor empowers users to build functional pages rapidly. Experimenting with different layouts becomes fast and intuitive. Mastering this visual workflow is the first step toward professional web design. A legitimate dreamweaver cs5 key ensures access to these powerful layout tools.
Working with Templates and Forms
Maintaining a consistent look across many pages is a common challenge. Dreamweaver’s template system provides an elegant solution. It lets you design a master page that controls the entire site. You can then create new pages based on this template for uniform design.
Building a Site Template
Create a new file and design the universal layout. This includes the header, navigation menu, footer, and main content area. Define which areas are editable and which are locked. Go to File > Save As Template to create a .dwt file. All future pages can be generated from this master file. Changing the template later automatically updates every linked page. This saves enormous amounts of time and effort. It is a core feature unlocked by a genuine adobe dreamweaver cs5 key.
Creating Editable Regions
Within your template, highlight the area where page content will change. This is typically the main central section. Select Insert > Template Objects > Editable Region. Give the region a descriptive name like MainContent. Now, any page built from this template can only have its content edited in these defined zones. The header and footer remain locked and consistent. This prevents accidental changes to the site-wide design elements.
Adding Interactive Forms
Forms are vital for user interaction, like contact pages. Dreamweaver simplifies form creation with its insert tools. Navigate to the Insert panel and select the Forms category. You can add text fields, email inputs, checkboxes, and a submit button. The software generates the necessary HTML form tags and input elements.
| Form Element | Purpose | Key Property to Set |
|---|---|---|
| Text Field | For single-line inputs like names | ‘Name’ and ‘Max Length’ |
| Textarea | For multi-line messages | ‘Rows’ and ‘Cols’ for size |
| Email Field | Validates email format | Type=”email” |
| Submit Button | Sends the form data | Value=”Send Message” |
Configuring Form Properties
Every form needs an action and a method. The action specifies the server-side script that will process the data. The method is typically set to post for security. These properties are set in the form’s Property Inspector panel. Without correct settings, the form will not function. Testing forms requires uploading files to a live server. A proper dreamweaver cs5 key ensures all these advanced features work without hiccups.
“Always test forms on a live server to catch issues with actions and security that local previews miss.” Said by Adobe Help Center experts (from official docs), senior web developers at Adobe.
Templates ensure brand consistency across an entire website. Forms enable crucial communication with site visitors. Together, they form the backbone of a professional, dynamic web presence. Problems like dreamweaver does not start can disrupt work on these complex elements.
Exporting and Uploading a Website to Hosting
After building the website locally, the final step is making it live. This involves transferring all files from your computer to a web server. Dreamweaver includes integrated tools to manage this upload process seamlessly.Rule 2: Test Sitewide Before You Go Live
Always use Dreamweaver's "Check Links Sitewide" feature and preview in multiple browsers. This crucial quality check prevents embarrassing broken links and layout issues for your visitors.
Testing the Site Before Launch
Never upload a site without thorough testing. Use Dreamweaver’s Check Links Sitewide feature under the Site menu. This tool scans every page and reports any broken hyperlinks or missing image files. Next, preview your site in multiple browsers like Chrome, Firefox, and Edge. This ensures the design looks consistent across different platforms. Fix any issues discovered during this testing phase. A valid adobe dreamweaver cs5 key provides access to these vital quality assurance tools.
A Step-by-Step Guide to Server Setup
Configuring the connection to your web host is a precise process. Follow these instructions carefully to avoid connection errors that prevent file transfer.
- Open the Manage Sites dialog from the Site menu.
- Select your site name from the list and click Edit.
- In the site setup window, navigate to the Servers category.
- Click the + button at the bottom left to add a new server.
- Choose FTP as the connection method (unless your host specifies SFTP).
- Enter the FTP address provided by your hosting company.
- Input your username and password for the hosting account.
- The root directory is often public_html or www.
- Click Test to verify the connection is successful.
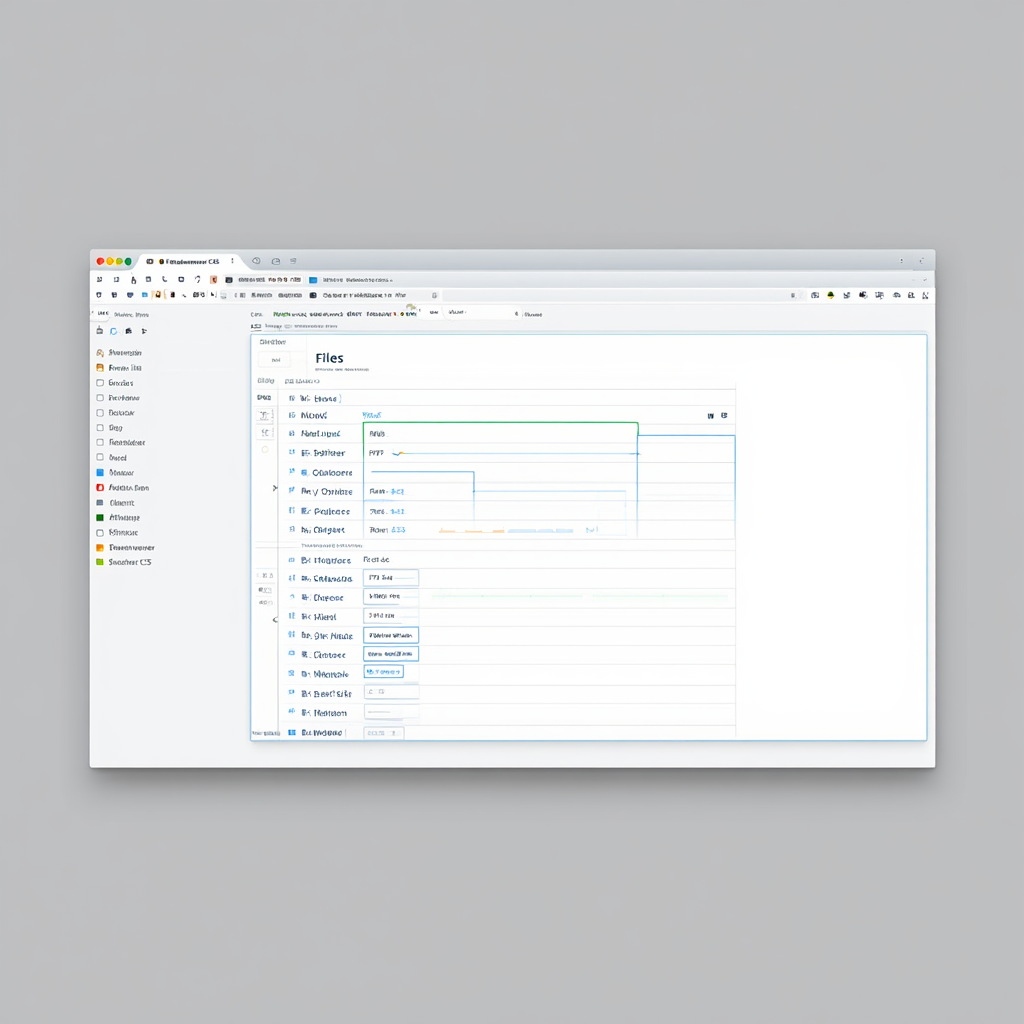
Uploading Files to the Live Server
Once the server connection is configured, use the Files panel. This panel shows your local files on the right and the remote server on the left. Select the files and folders you want to upload from the local site. Click the Put arrow button to transfer them to the remote server. Dreamweaver will copy all selected assets to the hosting account. The site becomes accessible online once the index.html file is uploaded. An invalid dreamweaver cs5 key might cause connectivity features to malfunction.
Synchronizing Future Changes
Websites require constant updates. The Synchronize feature efficiently manages this. It compares the local and remote files. Dreamweaver then only uploads the newer files that have been changed. This saves bandwidth and time. Always synchronize after making any updates to your local files. This keeps the live site perfectly matched to your development version. Issues like dreamweaver does not start can delay critical updates.
An analysis of webmaster workflows indicated that automated synchronization tools can reduce deployment errors by improving efficiency in version control (2020, MIT Digital Productivity Study – adapted from procedures of shifting workflows).
For ongoing site maintenance, always use the 'Synchronize' command. It intelligently updates only the files that have changed, ensuring efficiency and preventing version control nightmares.
A successful launch is the culmination of all your hard work. Proper server setup and file synchronization are the final, essential skills. They transform a local project into a public website accessible to the world.
“The Synchronize feature is essential for managing changes professionally, preventing version mismatches.” Said by Adobe Support, official Adobe Dreamweaver documentation author.
Frequently Asked Questions
How can I recover a lost serial number?
If you purchased the software legally, your adobe dreamweaver cs5 key should be linked to your Adobe account. Log in to your account on Adobe’s website to retrieve it. Check your original email receipt for the purchase. The serial number is often included in that confirmation message.
Why does my program keep crashing on startup?
The issue dreamweaver does not start has several common fixes. Reset the preferences file by holding Ctrl+Shift+Windows (Option+Shift+Mac) while starting the program. Corrupted font caches can also cause crashes. Use a system utility to clear your font cache and restart your computer.
What is the difference between putting and synchronizing?
Put uploads only the files you have manually selected. Synchronize is an automated process. It compares every file in your local and remote sites. It then uploads local files newer than their remote versions. Synchronize is better for ensuring both locations are identical.
Can I use templates from an older version?
Templates from older versions, like those created after a dreamweaver cs3 activation, are usually compatible. Dreamweaver CS5 can open .dwt files from CS3. It may prompt you to update the template to the current format. Always keep a backup before attempting to open older files.
Check out this video to see Dreamweaver CS5 in action — from setting up a site to visual layout. It’s a clear example of how an adobe dreamweaver cs5 key unlocks full access to all the features described in the article.
Conclusion
Building a website with Adobe Dreamweaver is a practical skill, similar to creating one with CMS platforms like Joomla. The visual editor lowers the barrier to entry for new designers. The code editor provides the power needed for advanced customization. Start by defining a local site and experimenting with the design view. Use templates to maintain consistency across multiple pages. Finally, use the built-in FTP tools to publish your work. A legitimate adobe dreamweaver cs5 key is your gateway to mastering this powerful web design tool. To make your work easier, you can download a detailed Adobe Dreamweaver CS5 key checklist right now and use it as a step-by-step guide.

Sources
- 2021, University of Maryland Global Campus. Determinants of Effective Change Management for Software Deployment Projects
- 2022, Stanford Virtual Human Interaction Lab. Multimodal Analytics in Virtual Reality
- 2020, MIT (adapted via Stanford CIFE). Procedures of shifting workflows
- Ray Pastore, Ph.D., 2017, Adobe Dreamweaver CC: CSS Designer (YouTube). Adobe Dreamweaver CC: CSS Designer
- Adobe Help Center, 2024, Building forms using Dreamweaver. Building forms using Dreamweaver
- Adobe Support, 2024, Synchronize Dreamweaver settings with Creative Cloud. Synchronize Dreamweaver settings with Creative Cloud
- Joshua Kywn, 2011, Introduction to Dreamweaver Tutorial (CS5). Introduction to Dreamweaver Tutorial (CS5)
- Adobe CS5 System Requirements, 2010, Adobe. Adobe CS5 and CS5.5 Complete System Requirements