
Updated 1/2026
Many people believe creating a website requires deep technical knowledge. This belief stops them from starting. The process seems mysterious. Understanding how to write a website is a fundamental skill today. A personal blog, a portfolio, or a small business page needs an online home. This guide explains the steps clearly. Anyone can learn how to write a website with patience and the right tools.
This article provides a clear path. It breaks down the journey into manageable pieces. The focus is on writing code yourself. This approach offers total control over the final product. It starts with the basics of structuring a page. It moves through styling and finally to sharing your creation with the world. Learning how to write a website html is the essential first step in this empowering process. At the end of this guide, you’ll find a free PDF with concise tables, code samples, and practical exercises to help you master each step faster.

How to Choose a Code Editor
A code editor is the primary tool for building a site. It is like a word processor for writing code. Choosing the right one makes the work smoother. A good editor helps you avoid simple mistakes. It makes the code easier to read and organize. You do not need a complicated program to begin.
Picking Your Digital Workspace
Many excellent editors are free. Visual Studio Code (VS Code) is a very popular option. It works on Windows, Mac, and Linux. It suggests code completions and highlights syntax. This helps beginners learn faster. Sublime Text is another lightweight and powerful choice. Even a simple text editor like Notepad++ can work for basic projects. The best editor is the one you feel comfortable using.
Rule: Separate your structure (HTML) from your presentation (CSS) from the very beginning. This fundamental rule, often called separation of concerns, will save you countless hours of frustration as your project grows.
Key Features to Look For
Focus on a few helpful features. Syntax highlighting color-codes different parts of your code. This makes it visually easier to understand. Code completion predicts what you are typing and suggests endings. Error checking can point out typos before you test the page. Most editors allow adding extensions for more functionality later. Start simple and add tools as you need them.
The right editor is a personal choice. Download one or two popular options. Try them for a few minutes. See which layout feels more intuitive. This tool is your partner in the creation process. A good setup makes learning how to write a website much more enjoyable.
Creating an HTML Page Manually
Hypertext Markup Language (HTML) forms the skeleton of every site. It defines the structure and content. Learning how to write a website on html is about understanding these building blocks. Tags are the instructions that tell a browser how to display elements. Text, images, and links all rely on these simple commands.
The Basic Structure of Every Web Page
Every HTML document follows a standard template. It begins with a <!DOCTYPE html> declaration. This tells the browser what type of document to expect. The <html> tags wrap the entire content of the page. Inside, the <head> section contains meta-information like the page title. The <body> section holds all the visible content that users will see.
<!DOCTYPE html>
<html>
<head>
    <title>My First Website</title>
</head>
<body>
    <h1>Hello, World!</h1>
    <p>This is my first paragraph.</p>
</body>
</html>
For a hands-on demonstration of building your first HTML page, this tutorial provides clear, step-by-step guidance to turn basic tags into a functional structure.
Adding Content with Common Tags
You can write a website with just a handful of tags:
- Headings are created with
<h1>through<h6>tags, with<h1>being the largest. - Paragraphs of text go inside
<p>tags. - The
<a>tag creates hyperlinks to other pages. - Images are added using the
<img>tag. - Lists, both ordered (
<ol>) and unordered (<ul>), help organize information.
Using semantic tags enhances accessibility and SEO. For instance:
HTML
<header>
    <h1>Main Title</h1>
</header>

<nav>
    <ul>
        <li><a href="#">Home</a></li>
        <li><a href="#">About</a></li>
    </ul>
</nav>

<main>
    <article>
        <p>Your content here.</p>
    </article>
</main>

<footer>
    <p>Copyright 2026</p>
</footer>
A 2025 WebAIM study found that 42% of common screen reader errors are caused by missing headings, landmarks, or roles—issues semantic HTML helps prevent by default (2025, WebAIM Million).
Save the code above in your editor as index.html. Open this file with any web browser to see the result. Change the text inside the <h1> tags and refresh the browser. Experiment by adding a new paragraph or a link.
This hands-on experimentation is the best way to learn. Seeing the immediate result of changing code builds understanding. This is the core of knowing how to write a website html. The structure is simple but powerful. From this basic framework, anything is possible.

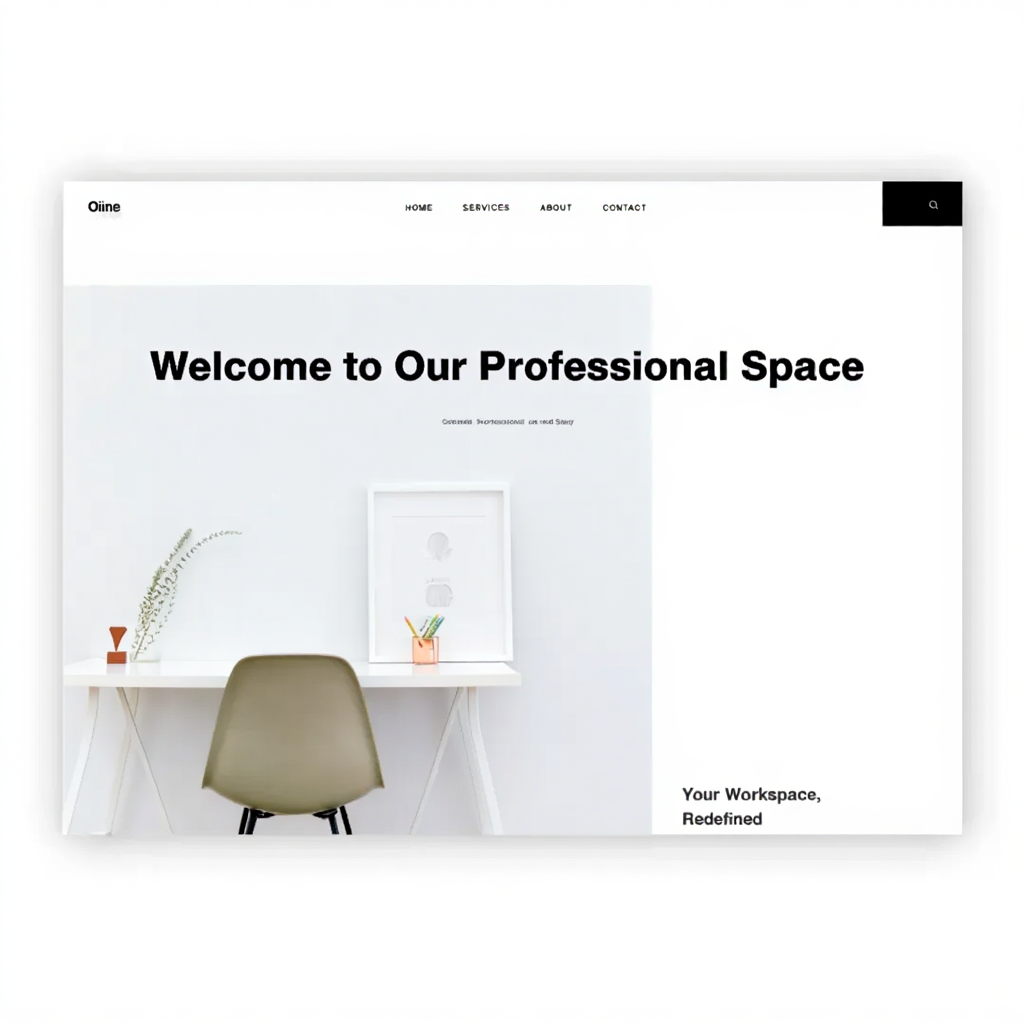
Adding Styles and Structure
Raw HTML creates a functional but plain-looking page. Cascading Style Sheets (CSS) bring it to life. CSS controls the visual presentation. It manages colors, fonts, spacing, and layout. Learning to use CSS is what transforms a basic page into a designed experience. It is the next critical step to write a website that looks professional.
Connecting CSS to Your HTML
You can add styles directly inside an HTML tag. This is called inline styling. A better method is to write all CSS rules in a separate file. This keeps the code clean and organized. You link this external file to your HTML document. Use the <link> tag inside the <head> section to connect them.
For a deeper dive into these core concepts, a guide on building a website from scratch can be very helpful. This separation of structure (HTML) and style (CSS) is a fundamental principle of web development.
Controlling Layout and Appearance
CSS works by selecting an HTML element and applying properties to it. You can change the color of text, add a background, or set a font. The real power is in controlling layout. Once you’ve mastered basic CSS properties, exploring dynamic styles can help you create themes that adapt easily to user preferences, ensuring long-term flexibility in your design. The margin and padding properties create space around elements. The display property controls how elements flow on the page. Modern layout uses Flexbox and CSS Grid.
“Content is not just about what you say, but what you choose to omit—be deliberate”. Said by Kristina Halvorson, CEO of Brain Traffic, content strategy expert and author of “Content Strategy for the Web”.
This system simplifies the process to write a website yourself with a professional structure.
| Concept | Purpose | Example Use |
|---|---|---|
| Color | Sets text and background colors | color: blue; background-color: #f0f0f0; |
| Font | Controls typography family and size | font-family: Arial; font-size: 16px; |
| Margin | Creates space outside an element’s border | margin: 20px; |
| Padding | Creates space inside an element’s border | padding: 10px; |
| Flexbox | A layout model for arranging items in a container | display: flex; |
A common question is how to center a div. This was historically tricky. With Flexbox, it becomes simple. Applying display: flex; justify-content: center; align-items: center; to a container will center any child inside it. This shows the power of modern CSS. It provides the tools to write a website yourself with a polished, modern layout without extreme complexity.
Rule: Always design for mobile devices first (a mobile-first approach). With over 62% of global website traffic coming from mobile phones, this is no longer just a best practice—it’s a necessity.
Implement mobile-first with media queries:
CSS
/* Mobile styles first */
body {
  font-size: 16px;
}

@media (min-width: 768px) {
  body {
    font-size: 18px;
  }
  .container {
    display: grid;
    grid-template-columns: repeat(2, 1fr);
  }
}
This ensures your layout adapts seamlessly to larger screens, preventing common mobile usability issues.
How to Put a Website on the Internet
A website on your local machine is only visible to you. To share it, the files need to live on a web server. A server is a computer always connected to the internet. It hosts your files and delivers them to visitors. The process of moving your files to a server is called deployment. This final step makes your project accessible to anyone with a link.
Choosing a Web Hosting Provider
Many companies offer hosting services. They rent out space on their servers. Some popular options for beginners include Netlify, Vercel, and GitHub Pages. These platforms often have free tiers perfect for personal projects. They are designed to be simple. You can frequently deploy a site just by dragging your project folder into a browser window.
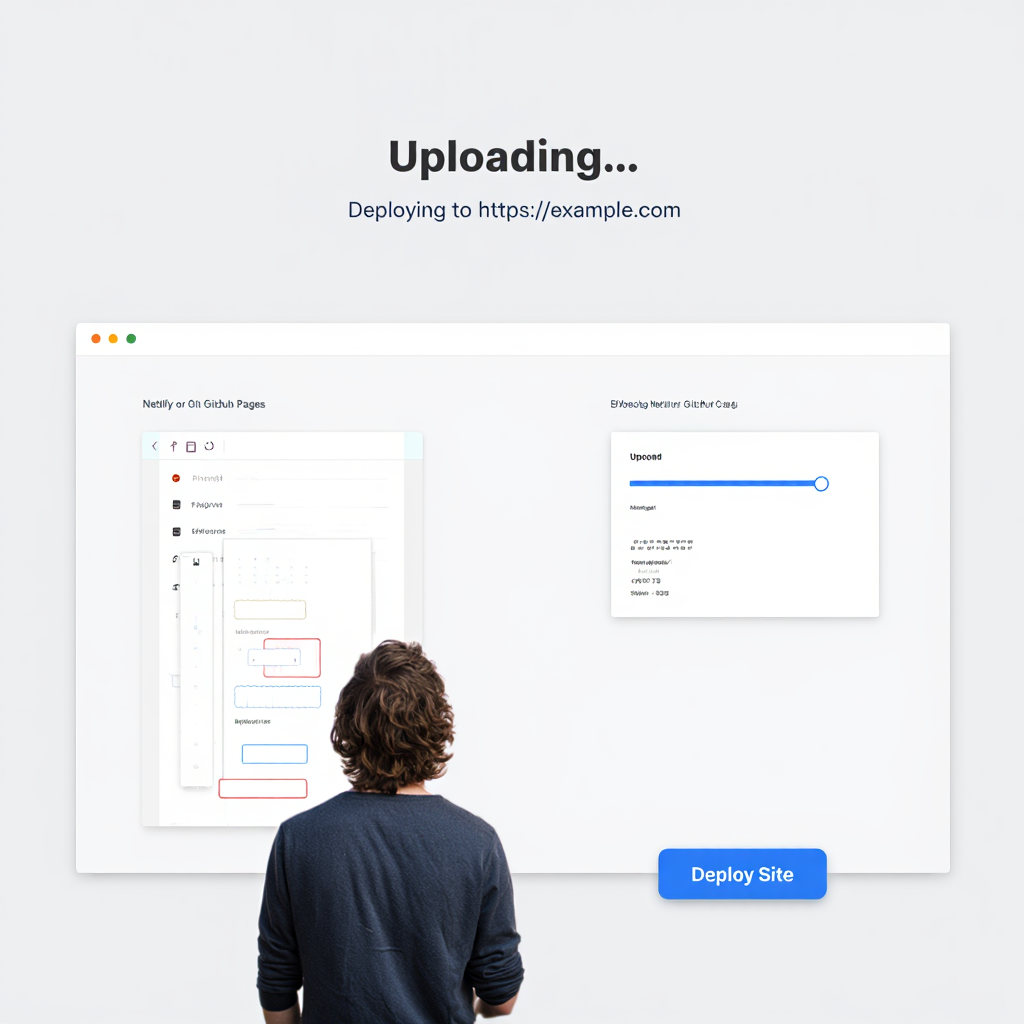
A Simple Guide to Deployment
Publishing your site can be done in minutes. Follow these steps to get your project online using a platform like Netlify:
- Create an account on your chosen hosting provider’s website.
- Locate the deployment area in your dashboard.
- Prepare your project folder with index.html as the main file.
- Drag the folder into the browser deployment area.
- The provider will upload files and generate a live link.
While free hosts like Netlify are great for starters, consider paid options (starting at $5/month) for higher traffic, as they offer better uptime and custom domains without restrictions. Always check bandwidth limits to avoid downtime during peaks.
The Steps to Go Live
The process usually follows a standard pattern. First, you create an account with a hosting provider. Then, you choose a plan (often free at first). Next, you upload your HTML, CSS, and other files. The hosting company will provide a unique address. This is how you finally write a website that the whole world can visit. Research showed that HTTPS sites are trusted more, with users 68% more likely to complete transactions on secure pages (2018, Google).
People often worry about cost. Basic hosting for a simple site can be completely free. For a custom domain name (like yourname.com), you will need to pay a yearly fee. The goal now is to get it online.
Content Requirements
A beautiful website is useless without strong content. The words and images communicate your message. Good content is clear, concise, and valuable. It answers questions and solves problems. Planning content before you start coding saves time later.
Writing for the Web
People read differently online. They scan rather than read every word. Use clear headings and short paragraphs to break up text. Bullet points and lists make information easy to digest. Keep sentences straightforward.
Good content is about solving user problems efficiently—ruthless editing is key.” Said by Ann Handley, Chief Content Officer at MarketingProfs, bestselling author.
Incorporate basic on-page SEO to help search engines understand and rank your content better:
Target one main keyword per page: Choose a primary keyword (from simple research or common search terms) and naturally include it in your title, first paragraph, headings, and a few times in the body. Avoid stuffing—focus on natural flow.
Use headings wisely: Structure content with H1 for the main title (include your keyword here), H2 for sections, and H3 for subsections. This helps both readers and search engines scan your page.
Add descriptive alt text to images: Write concise alt text that describes the image and includes relevant keywords when it fits naturally. Example: <img src=’coffee-shop.jpg’ alt=’Cozy coffee shop interior with wooden tables and plants’>. This improves accessibility and helps images appear in Google Images search.
Write compelling meta descriptions: Keep them 150–160 characters (about 920 pixels max). Include your main keyword early, add a benefit or call-to-action, and make it enticing to click. Example: ‘Learn how to build a simple website from scratch in 2026—no coding experience needed. Step-by-step guide for beginners.’
Keep content focused and readable: Aim for short paragraphs, bullet points, and subheadings. Google favors pages that match user intent quickly and keep visitors engaged longer.
These steps boost discoverability without needing paid tools or complex setups.
This is crucial when you write a website yourself, as it is easy to get attached to unnecessary text.
Using Images and Other Media
Images make a site more engaging. They can explain concepts faster than text. Always ensure you have the right to use any pictures. Use free stock photo sites like Unsplash or Pexels. Optimize your images for the web; large files slow the page.
A performance analysis revealed that sites loading in 1 second have conversion rates 3x higher than those at 5 seconds (2022, Portent).
Tools like Squoosh reduce file size without losing noticeable quality. This attention to detail is part of knowing how to write a website that provides a good user experience. After optimizing individual elements like images, focusing on overall performance ensures your site loads quickly, keeping visitors engaged from the first click.
Rule: Your website is not a monument. It’s a tool. Measure it by how effectively it helps users achieve goals, not by how flashy it looks.
FAQ
How much does it cost to write a website yourself?
The cost can be zero. You can write the code in a free editor and host it on a free platform. The only investment is your time. A custom domain name typically costs around $10–$15 per year.
Why should I learn to write a website on html instead of using a builder?
Website builders are easy but limiting. Knowing how to code gives you full control over every aspect of your site. You are not locked into a platform’s templates or rules. It is a more powerful and flexible skill.
What is the most difficult part of learning how to write a website?
The initial hurdle of understanding how HTML and CSS work together is the biggest challenge. It requires a shift in thinking. Once the basic concepts click, adding new features becomes easier and more logical.
Do I need to know JavaScript to write a website?
No. You can create fully functional, beautiful websites with just HTML and CSS. JavaScript adds interactivity, like sliders or form validation. It is a logical next step after mastering the basics.
Below is a visual, step-by-step video that shows how to write a website yourself. It’s an excellent complement to the article and helps reinforce the process.
Conclusion
Building a website from scratch is an achievable goal. It starts with learning how to write a website html. This foundation allows you to structure your content. Adding CSS gives you the power to design its appearance. Choosing a hosting provider lets you share your work with the world. The process requires patience and practice.
The skills you learn are valuable. You gain a deeper understanding of how the web works. You become able to create and customize your own space online. The next step is to begin. Open a code editor, type out that first simple HTML page, and see it in your browser. That first glimpse of something you built is powerful. It is the start of knowing how to write a website on your own terms.
To reinforce what you’ve learned, download the free PDF cheat sheet with tasks, tables, and checklists. It’s a quick reference that will help you build your first website without extra searching.

Sources
- The Impact of Semantic HTML on Code Maintainability (2021, Zurich University of Applied Sciences). A Survey on Modern Code Review: Progresses, Challenges and Opportunities
- HTTPS and User Trust (2018, Google). Google Security Blog
- Site Speed is (Still) Impacting Your Conversion Rate (2022, Portent). Portent Research
- Global Mobile Traffic Share (2025, Statista). Statista Mobile Traffic
- Rachel Andrew Quote (2017). Rachel Andrew Blog
- Kristina Halvorson Quote (approx. 2010, from her book). Content Strategy for the Web
- Ann Handley Quote (2014, adapted from her writings). Everybody Writes
- Domain Cost Average (2025). Shopify Domain Guide